We needed a Visa exit... we found an island adventure.
If you’ve been following our journey, you know Thailand lets you stay for 90 days max, that’s 60 days with an exemption visa, plus a 30-day extension. After that, you’re politely (but firmly) asked to leave.
Most travelers we meet treat this like a box to check: cross the border, get stamped, come right back. Efficient? Sure. Memorable? Not really.
But we didn’t move across the world just to be ruled by visa deadlines. So instead of doing the classic border hop, we turned it into a full-on detour, to Malapascua (Philippines). A country we’d never been to, full of warm people, wild marine life, and an energy completely different from our little island bubble in Koh Tao.
This is how we turned a visa technicality into a real adventure, and how you can too.
What do you need to arrange for the Philippines?
Well first of all it depends on how long you want to stay in the Philippines. So let’s say you are like us and you only want to stay less than 30 days.
If you’re from a country eligible for visa exemption, great news, you don’t need to apply for a visa in advance! Tourists from over 150 countries can stay up to 30 days visa-free. But while the process is easy, there are still a few documents you need to prepare to ensure a smooth entry.
- Let’s start with the obvious document… your passport, it needs to be valid for at least 6 months (like for all international travel).
- Immigration may ask to see a confirmed ticket showing you’ll leave the Philippines within the allowed stay (in your case, within 30 days).
- You will also need to apply for a so called e-visa on arrival. You can get these online for free from the official Govt website. It’s a document where you declare why you are travelling, where you’ll be staying, what countries you visited in the two weeks before entering the Philippines and so on. We mention again that it is free, but there are also websites that charge you money for them. We almost made the mistake of actually paying for the e-visa.
- We also advise you to make sure you have an ESIM or something similar, airport (free)WIFI is not always working(correctly). And you might need to get in contact with your driver or order a Grab.
- Also make sure you atleast have some cash on you (some places even accept Dollars, Euro’s and Pounds).
From Koh Tao to Malapascua: Step by Step
(With little tips we wish someone told us before we left.)
1. Ferry from Koh Tao to Chumphon
We left on the afternoon Lomprayah catamaran, about 90 minutes of smooth sailing (most days) with a mix of locals and travellers.
Hands-on advise:
-
Book tickets in advance, especially in high season.
-
Afternoon boats are way less chaotic than the early ones.
-
Sit toward the back if you get seasick, the Gulf can get choppy, especially October–December.
2. Shuttle to Chumphon Train Station
From the pier, we hopped on a shuttle (150 Baht per person) straight into town. You’ll get dropped near the train station, but it’s easy to tweak your route if you’re headed to the bus terminal instead.
Hands-on advise:
-
Shuttle tickets are sold when you get off the boat, no need to plan ahead.
-
Fame Guesthouse nearby has showers and luggage lockers if you need a reset before your next ride.
3. Night Bus to Bangkok
After a quick Grab to the bus station, we caught an overnight ride to Bangkok, 6 to 7 hours with one snack stop and surprisingly comfy seats.
Hands-on advise:
-
Spring for a VIP or 24-seater, more legroom, reclining seats, and usually a small snack pack.
-
Bring earplugs. Even the quietest bus has That One Guy on speakerphone at 2 AM.
4. Grab to Don Mueang Airport
A 30-minute Grab ride got us from the bus station to the airport. Cheap, fast, and drama-free.
Hands-on advise:
-
Always compare Grab prices to taxis. It’s usually the better deal.
-
Bangkok traffic is no joke during rush hour. Add buffer time if you’re cutting it close.
5. Direct Flight to Cebu
We lucked out with a direct 4-hour flight from Don Mueang to Cebu. No layovers. No hassle. Just how we like it.
Hands-on advise:
-
Bring some Philippine pesos, not all places accept cards, even in the airport.
-
Immigration might ask for proof of onward travel. A return ticket or dummy (onward ticket) booking helps keep things smooth.
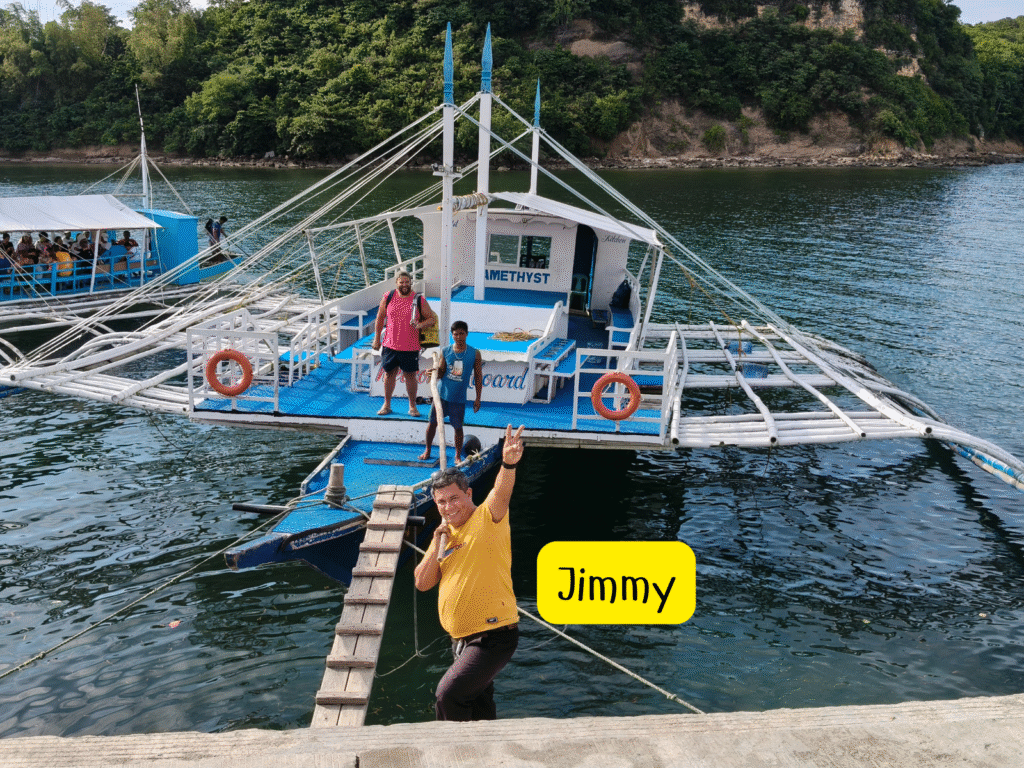
6. Private Transfer to Maya Port
Instead of figuring out the bus routes, we booked a private driver through our dive shop, Thresher Shark Divers. Our guy, Jimmy, was a legend, stopping for ATMs, good coffee, and random roadside chats like we’d known him for years. I especially liked the singing along with his classic rock playlist.
Hands-on advise:
-
Ask your hotel or dive shop to arrange a local driver, it’s worth every peso.
-
On a budget? Grab a public van (called V-Hire) from Cebu North Bus Terminal for around ₱300–₱400.
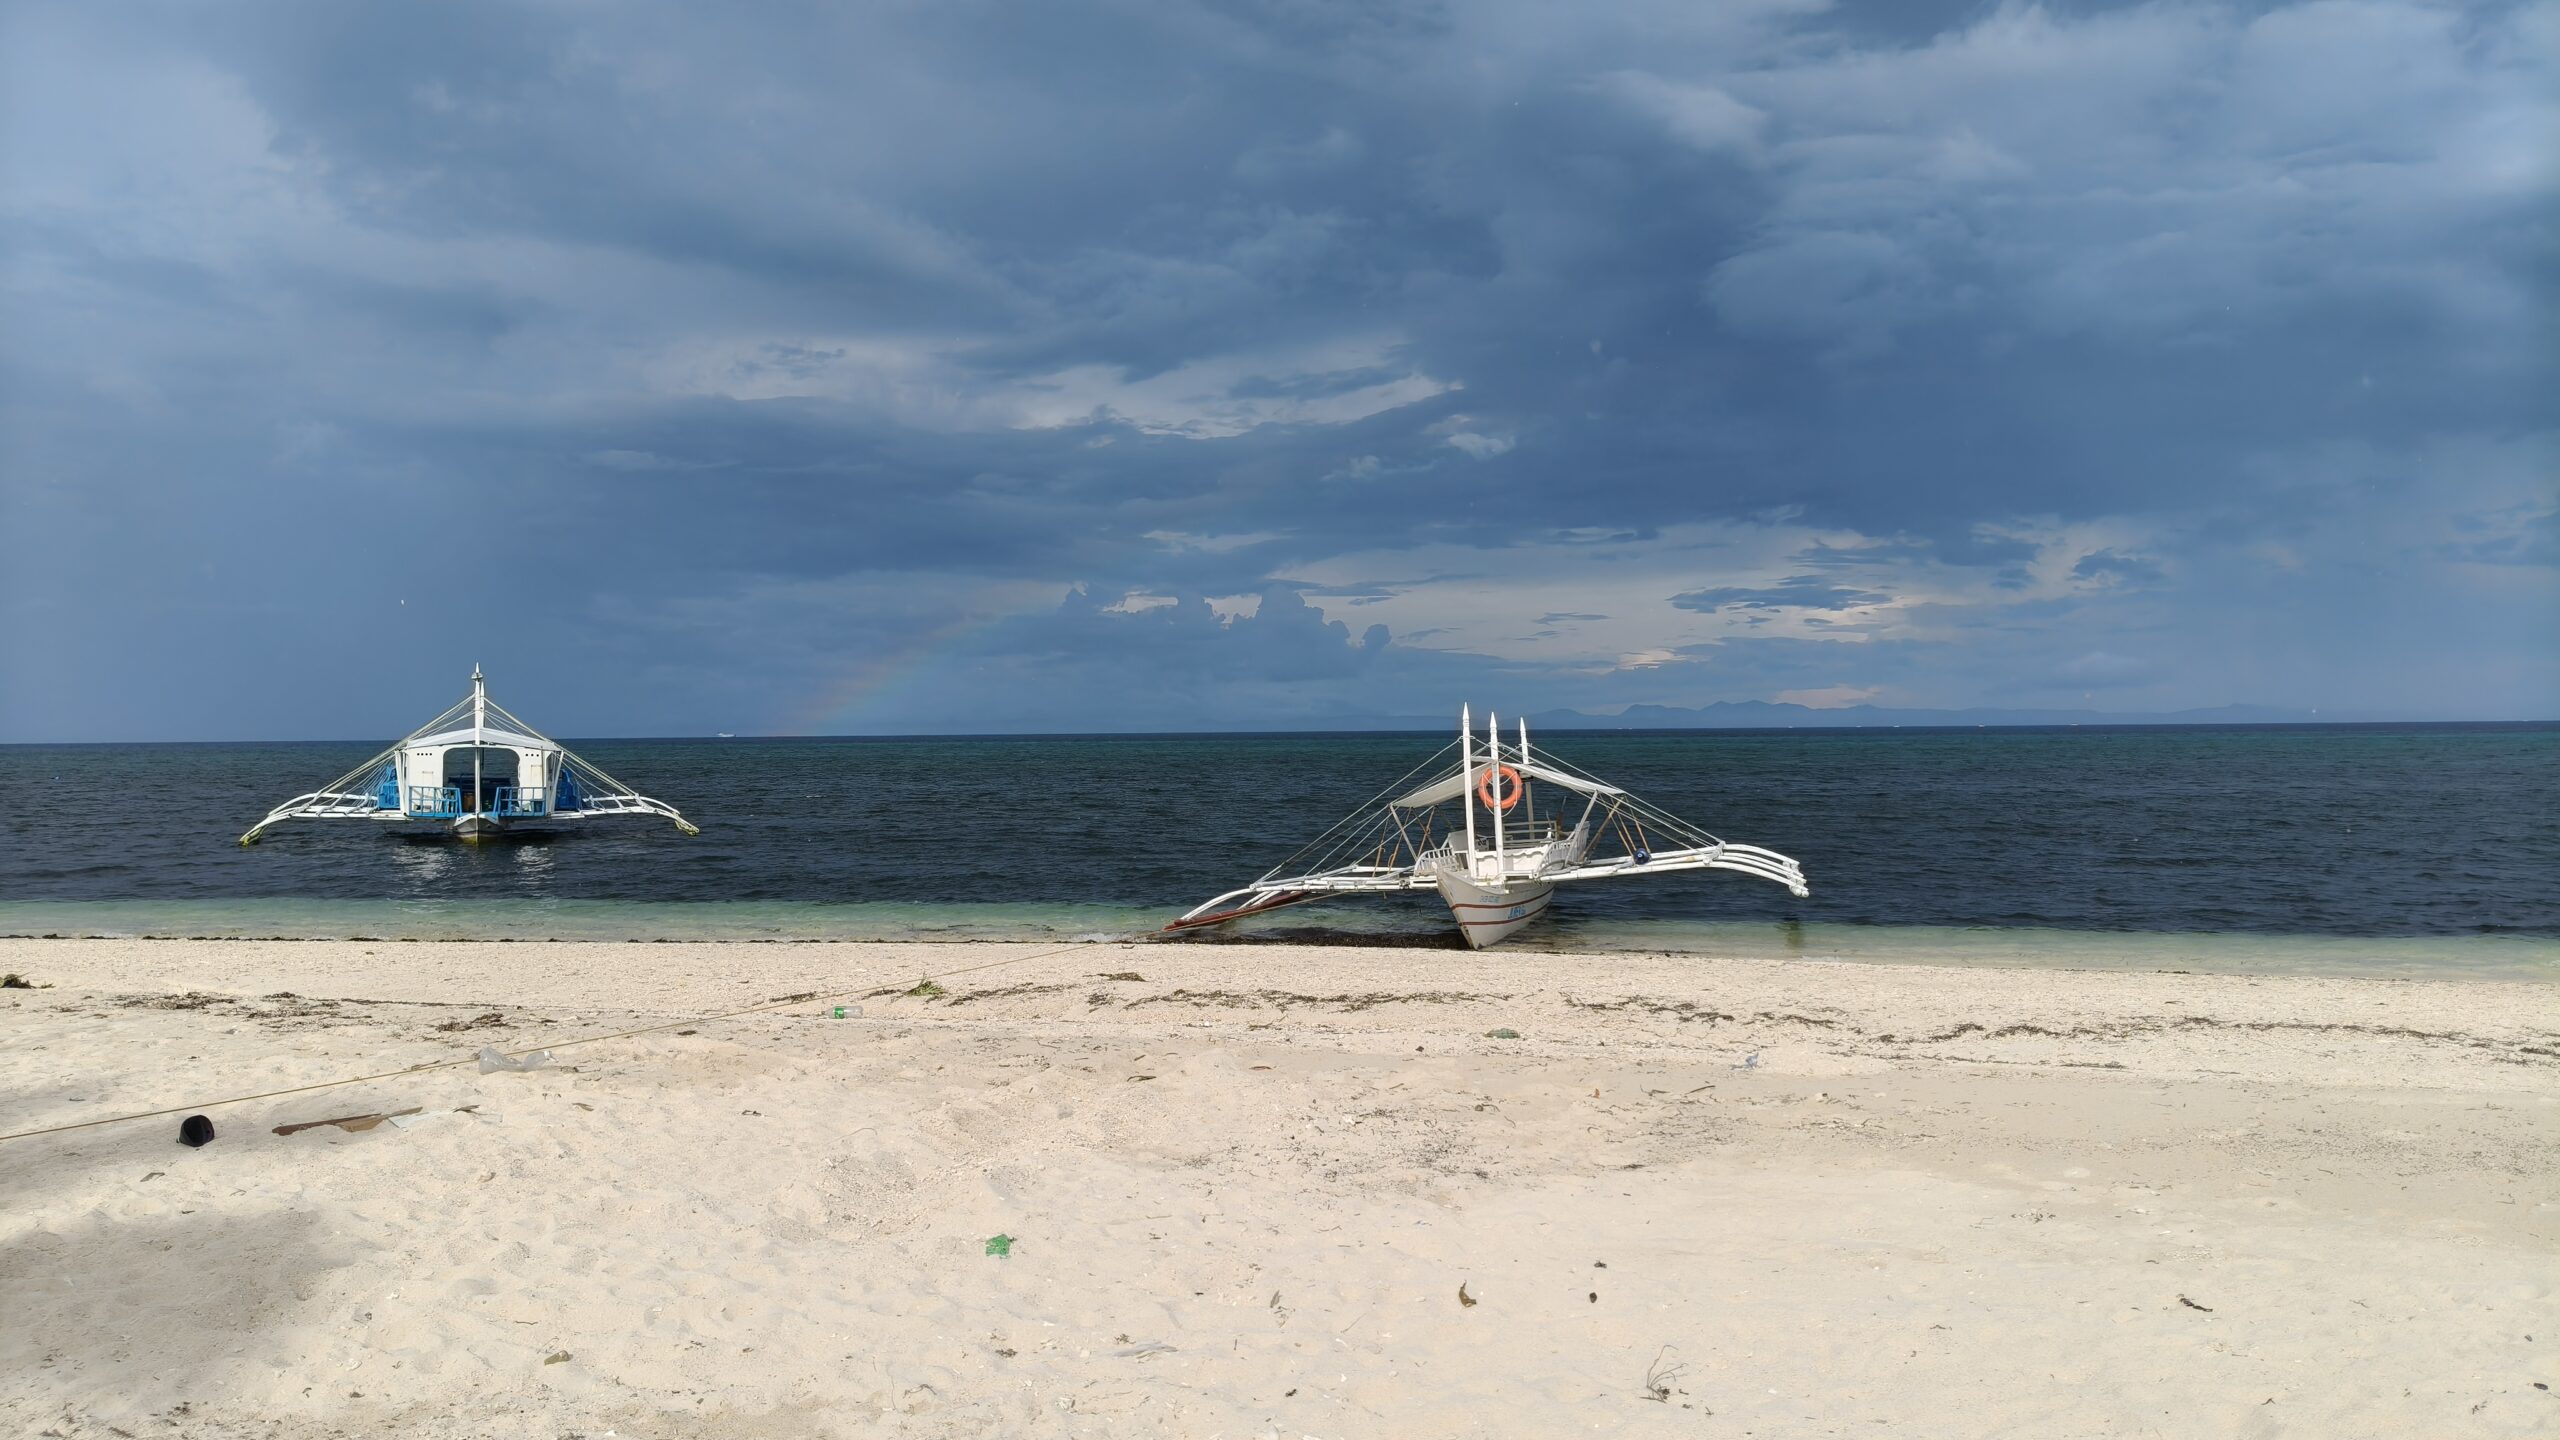
7. Boat from Maya Port to Malapascua
The final stretch: a 30–45 minute ride on a traditional banca boat, all bamboo outriggers and salt spray. A bit of a balancing act to get on and off, but totally worth it.
Hands-on advise:
-
Keep small bills handy for port fees or snacks.
-
During low tide, you’ll take a tiny “transfer boat” to the main banca (₱20–₱50).
-
Bring a dry bag, electronics and saltwater are not friends.
Arrival in Malapascua
Once your feet hit the sand, everything shifts. There are no cars, barely any pavement, and time slows down in the best way.
This is when it all made sense, the ferry, the buses, the night rides. What started as a bureaucratic necessity turned into something much more:
A new country. New conversations. New fish we couldn’t pronounce.
So yeah, we came for a visa run.
But we left with one hell of a story.
Curious about that story? That’s coming up in the next post.
Stay tuned…
